Your coffee maker is used daily, but it’s an appliance that probably doesn’t get a good cleaning very often (after all, how much of a mess can coffee and water really make, right?). But it’s actually super important to clean your coffee maker not only for the health of your machine but also to keep the taste of your morning brew fresh. Coffee build-up can cause your cup to taste bitter, or worse, there could be yeast and mold hiding in the reservoir, according to a 2011 study by NSF. While on a small scale, yeast and mold generally won’t seriously impact your health, they can cause an allergic reaction for some. To avoid unwanted bacteria, make sure to keep up with routine cleanings of your coffee maker. Follow the steps below to clean a standard drip coffee maker.
Wondering how to deep clean a K-cup machine?We’ve got you covered: Follow our guide to cleaning Keurig coffee makers. And don’t forget about cleaning your travel mugs, too!
How to Clean a Coffee Maker
To ensure your morning mug contains no hidden surprises, you’ll want to clean your machine on a regular basis. Carolyn Forte, Executive Director of the Good Housekeeping Institute Home Appliances & Cleaning Product Lab, says with a little bit of water, soap and vinegar, you will be good to go. Forte also mentioned, that it’s best to check cleaning instructions from your coffee maker’s manufacturer, as all machines are slightly different.
What You’ll Need
Step 1: Wash removable parts with dish soap after every use.
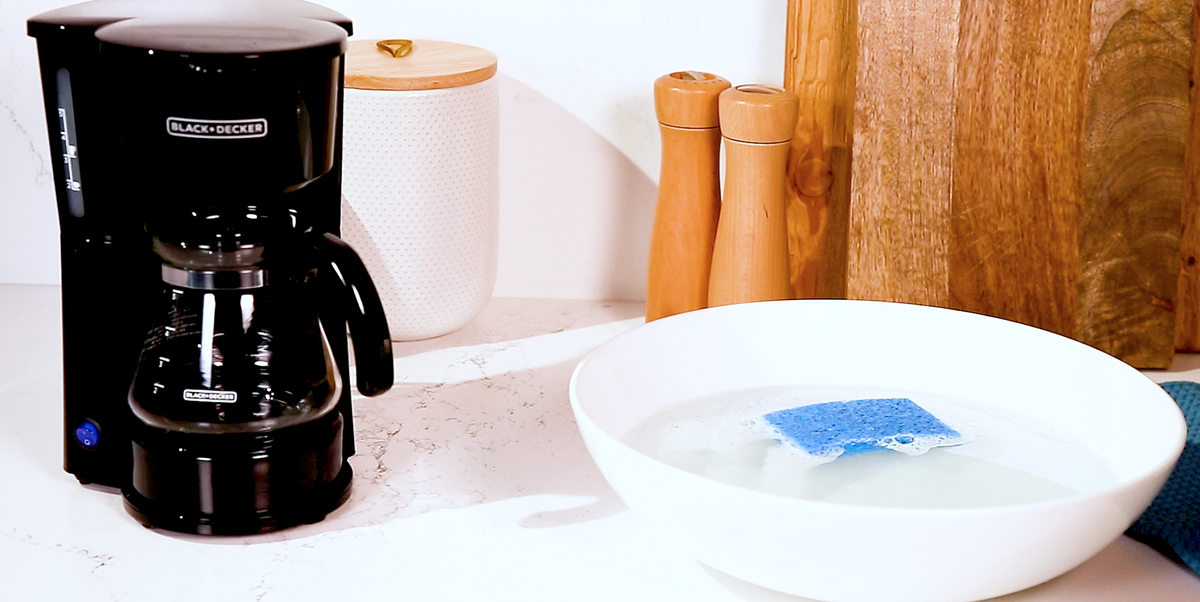
“This is important because it helps remove coffee, grinds and oil that are left behind,” says Forte. “You can hand wash at the sink with warm and soapy water, but usually the pieces are dishwasher-safe. And don’t forget to wipe down the outside and the warming plate where spills can burn on.” She also recommends leaving the reservoir’s lid open so it can dry out completely after each use!
Step 2: Decalcify your machine once a month with vinegar.
Over time, hard water minerals can build up in your machine’s inner workings, and you may notice that your coffee takes longer to drip. To get things back in tip-top shape, you need to cleanse and decalcify the machine. Forte’s trick: good ol’ reliable white vinegar. Here’s how to decalcify a drip coffee maker, in seven steps:
- Fill the reservoir with equal parts vinegar and water.
- Place a paper filter into the machine’s empty basket.
- Position the pot in place, and “brew” the solution halfway.
- Turn off the machine, and let it sit for 30 minutes.
- Turn the coffee maker back on, finish the brewing, and dump the full pot of vinegar and water.
- Rinse everything out by putting in a new paper filter and brewing a full pot of clean water.
- Repeat once.
Step 3: Make your carafe sparkle again with rice.
You should always wash your carafe after each use, but if it’s looking dingy over time, fill it with warm, sudsy water and a little uncooked rice. Swirl the mixture to loosen any gunk. Use a scrub sponge to remove debris and rinse well.
This content is created and maintained by a third party, and imported onto this page to help users provide their email addresses. You may be able to find more information about this and similar content at piano.io


