F.J. JiménezGetty Images
Curly hair is notoriously unpredictable and can be difficult to control into the soft and shiny curls that grace red carpets and magazine pages. Any person with naturally curly hair can tell you that it’s hard to achieve those picture-perfect curls at home. The right cocktail of hair products and hair tools can make life so much easier.
Instead of spending hours straightening your frizzy locks and then re-curling them with either a curling iron, wand, or even a hair straightener, all you need is a good diffuser (a.k.a, God’s gift to natural curls) to get the hair of your dreams.
“A diffuser is an attachment for your blow dryer that disperses the air to reduce frizz and keep from disrupting the natural wave pattern,” explains Stephanie Diaz, a hair colorist for Bumble & bumble. “It’s great for any texture, from wavy to corkscrew curls.”
But more than anything, “it can help even out curl patterns,” explains celebrity hairstylist Britt White. “It’s also great for anyone that has some wave in their hair and wants to get more curl or body to it.” Ready to try? Here’s how:
1. Hydrate and detangle hair
Great curls start in the shower. After shampooing hair, follow with a super-hydrating conditioner to moisturize curls, which tend to be drier than straight hair since your hair’s natural oils have to travel around coils to get to the end of the hair shaft. Herbal Essences Bio:Renew Coconut Milk Conditioner proved to be the most moisturizing conditioner in the Good Housekeeping Institute’s Beauty Lab conditioner tests.
Then, while still in the shower, gently detangle conditioned hair with a wide-tooth comb to smooth out knots without breaking delicate hair. Don’t comb out curls after they’ve started to dry: it can ruin their pattern and encourage frizz. That’s why we recommend detangling hair in the shower and letting the curls do their own thing as you start styling.
2. Wrap wet hair with a T-shirt
When you come out of the shower, don’t rub your hair with your towel — instead, just wrap your hair in either a T-shirt, soft cotton rag, or (best yet!) microfiber towel and squeeze out the excess water. The soft cotton is much less abrasive to the hair than a traditional terrycloth towel, which in turn, means less frizz to your curls.
“Using a towel that’s more textured causes hair to break,” says Lexie Sachs, Director of Good Housekeeping Institute’s Textiles Lab. “A smoother fabric for drying your hair means there’s less friction, so hair is less likely to get damaged.”
3. Shape and form your curls
If you still have knots, you can gently run your fingers through soaking-wet hair to detangle before twirling or scrunching curls. Just be aware that combing your curls out will change the curl pattern and might encourage frizz (yes, even while wet, and even with just your fingers).
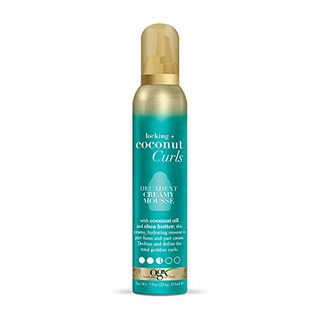
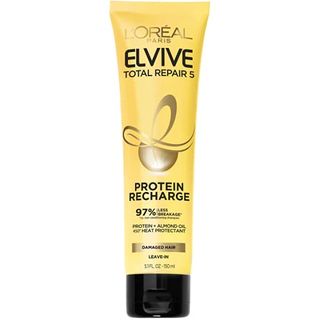
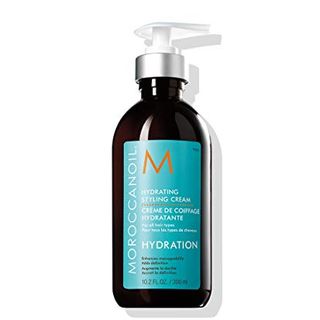
Then, apply a mousse for curly hair, curl cream and/or a leave-in conditioner to hydrate notoriously dry curls and help them keep their shape as they dry. In order to give each curl your desired shape, twirl wet hair in place around your finger — doing this will ensure that the curls hold their shape and look polished.
Some curly girls swear by Ouidad’s “rake and shake” method, which requires you to section the hair and rake product through each section, and then, “as your fingers reach the hair’s ends, shake at the wrist to encourage curl formation.” It’s all a matter of preference and what works for your own hair.
4. Put the diffuser to work
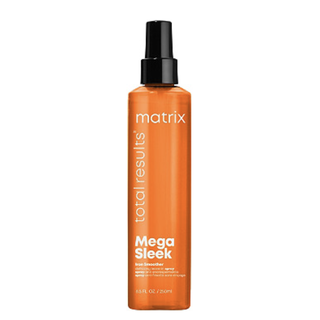
Before applying heat to your hair, Diaz always recommends misting it with a thermal protectant “to place a barrier between the hair and the heat.” Liberally spritz your favorite heat protecting spray all over hair, making sure to get in between layers for better coverage. This will protect your hair from damage.
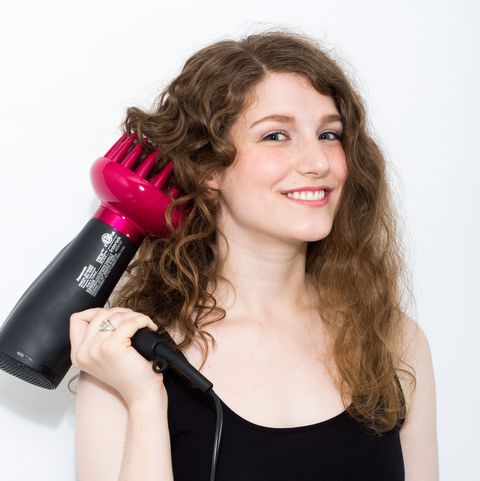
After that’s been done, lift a section of your hair into the diffuser, then turn your hair dryer on low — too much heat can harm the curl, and too much airflow can make curls look frizzy. White recommends cupping the diffuser around your hair and pushing hair around with your fingers to shape it — no brushes or combs, unless you want to look like a modern-day Chia Pet.
Start by drying the ends of your hair and moving up toward the roots as you dry. You can also flip your head upside down to get more volume at the roots, and dry hard-to-reach spots at the back and center of your head.
5. Stop while you’re ahead
Continue using your diffuser all over your hair, dropping your wet curls into the diffuser and drying on low to “gently diffuse hair to about 80% dry,” advises Diaz. Letting it air dry towards the end will give it a bouncy finish that looks hydrated.
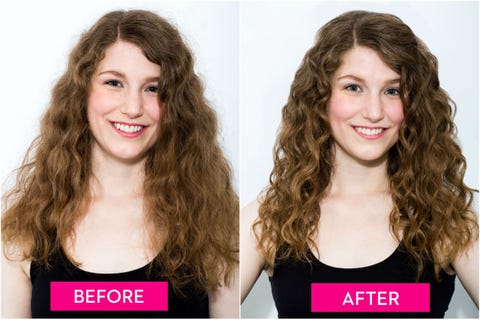
When you’re done styling, hands off! “Wet hair is so much more impressionable than dry, and disturbing the hair when wet could be detrimental to a smooth finish.” Plus, the rule with curly hair is that the more you touch it, the worse it looks. Get in the habit of leaving those curls be. The difference between air drying versus diffuser-drying speaks for itself. Just look at these beautiful curls!
Pin these tips for later, and follow Good Housekeeping on Pinterest for more hair and beauty tricks.
This content is created and maintained by a third party, and imported onto this page to help users provide their email addresses. You may be able to find more information about this and similar content at piano.io

